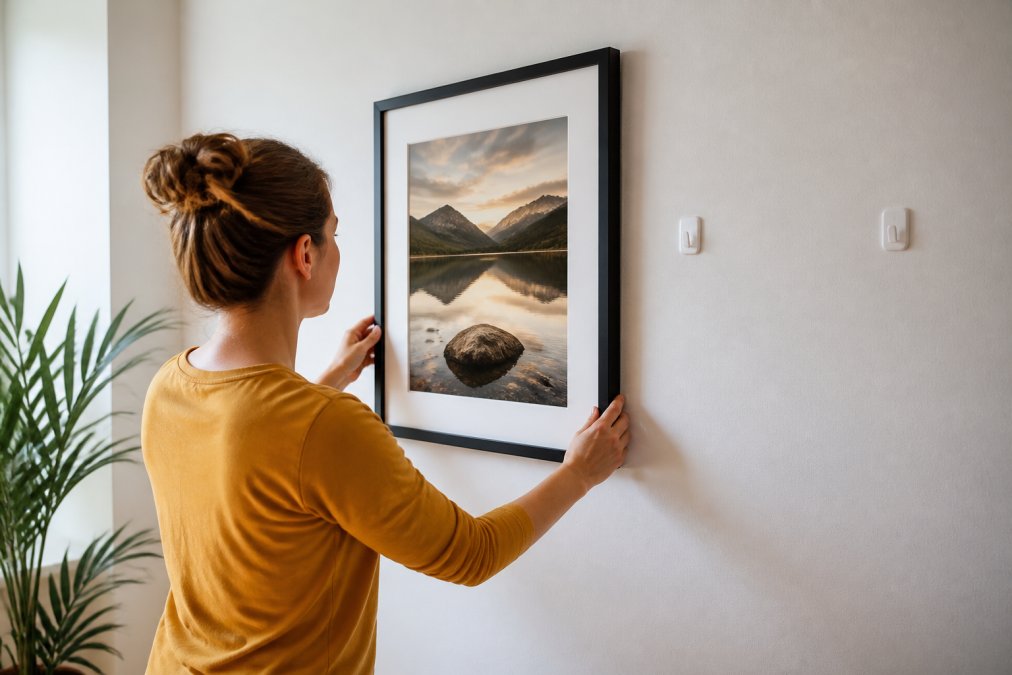
 how-to
How to Hang Art Without Damaging Walls
Table of Contents
- What You'll Need Before You Start
- Step 1: Prep Your Walls and Art for Damage-Free Hanging
- Step 2: Choose the Best Adhesive Strips for Wall Art
- Step 3: How to Hang Heavy Pictures Without Nails
- Step 4: Proper Spacing for Gallery Walls
- Step 5: Safe Removal Without Peeling Paint
- Common Mistakes That Damage Walls
- Frequently Asked Questions
Last Updated: September 18, 2026
What You'll Need Before You Start
Learning how to hang art without damaging walls starts with the right supplies, not the right technique. Most wall damage happens because people grab whatever's in a junk drawer and hope for the best. This guide walks through every step, from surface prep to safe removal, so your walls stay as pristine as the art you're hanging.
Here's what to gather first:
- Adhesive strips rated for your art's weight
- Isopropyl alcohol and a lint-free cloth
- A level and a pencil
- Mounting putty or rubber bumpers
- Painter's tape
- A tape measure and a stud finder
Step 1: Prep Your Walls and Art for Damage-Free Hanging
Clean walls hold adhesive. Dirty walls don't.
Before anything touches the wall, wipe the spot with isopropyl alcohol. This strips away dust and oils that weaken the bond. Let it dry completely, which takes a minute or two.
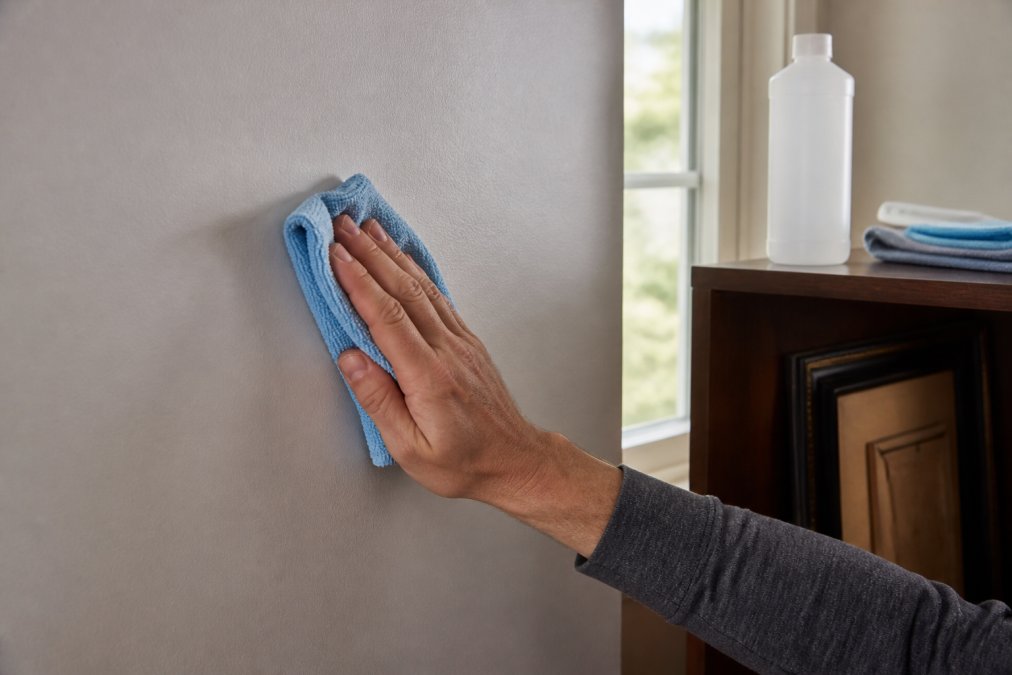
Then prep the art itself. Press mounting putty or rubber bumpers onto the back corners of the frame.
Cleaning and Surface Preparation
Surface preparation is the process of removing dust, oil, and moisture from a wall so an adhesive can form a lasting bond. Skip it and even the best adhesive strips for wall art will fail early.
Wall Texture and Paint Compatibility
This is the part most guides skip, and it's the reason adhesive strips fail on some walls and hold for years on others. Adhesive needs two things: a smooth surface and enough contact area. Texture breaks both.
How each common wall surface behaves:
- Smooth painted drywall (Level 4 or 5 finish): The gold standard. Adhesive strips get full contact and hold to their rated capacity. This is the only surface where the package weight rating is realistic.
- Orange peel texture: The dimpled surface cuts contact area by roughly a third. A strip rated for 5 lbs may only hold 3 lbs here. Press firmly and hold for 30 seconds to work the adhesive into the valleys, and downrate the strip by one weight class.
- Knockdown and heavy skip-trowel: Deep ridges mean large air gaps under the strip. Adhesive strips are unreliable. Use a small nail, a pin hook, or a picture rail instead.
- Brick, stone, and concrete block: Porous and uneven. Standard adhesive strips won't bond. Use brick clips that grip the mortar joint, or masonry anchors. Both leave minimal trace.
- Wallpaper and vinyl wall covering: The adhesive may bond to the paper, not the wall, and peel the covering when removed. Test in a hidden corner first, or avoid adhesive entirely.
- Wood paneling and beadboard: Seams and grooves create the same contact problem as knockdown. Hardware is safer.
Paint sheen matters just as much as texture:
- Flat and matte: Grips adhesive well because the slightly porous surface gives the strip something to bite. But flat paint has weak internal cohesion, so it tears and lifts on removal. Use low-tack strips and pull slowly.
- Eggshell: The best compromise. Holds reasonably well and releases cleanly when you follow the pull-down removal method.
- Semi-gloss and gloss: Hard, slick surface. Adhesive holds less firmly, so downrate the strip. The upside is that these sheens release cleanly with almost no paint lift.
- Fresh paint: Most manufacturers recommend waiting 7 to 30 days before applying adhesive, depending on humidity and coat thickness. Paint that hasn't fully cured is still soft underneath, and a strip can pull a patch of it off. If you can smell paint, it isn't cured.
Step 2: Choose the Best Adhesive Strips for Wall Art
Match the strip to the weight, and you'll avoid most failures. Adhesive strips come rated by pounds, and that rating assumes a clean, smooth surface.
Weight Capacity and Climate Considerations
| Art Weight | Best Method | Watch Out For |
|---|---|---|
| Under 2 lbs | Adhesive strips | Dusty surfaces |
| 2-5 lbs | Heavy-duty strips | Humidity |
| 5-15 lbs | Strip plus putty combo | Textured walls |
| Over 15 lbs | Hardware or rail | Stud placement |
Step 3: How to Hang Heavy Pictures Without Nails
For heavier pieces, adhesive alone won't cut it. This is where traditional hanging hardware earns its place.
- Find a stud for anything over 15 lbs
- Use a self-drilling anchor in drywall
- Mark once with a pencil, then commit
- Keep the hole small and the hardware matched
Using Picture Rails and Existing Architectural Features
Picture rails, molding, and mantles let you hang heavy art with no new holes at all. A rail holds a hook that slides along it, so you can move pieces without touching the wall.
Step 4: Proper Spacing for Gallery Walls
Proper spacing for gallery walls comes down to two numbers: 2 to 3 inches between frames, and 57 inches to the center of the arrangement.
- Keep 2-3 inches between frames
- Center the group at 57 inches
- Use paper templates before hanging
- Keep the outer edges aligned
Step 5: Safe Removal Without Peeling Paint
Removal is where most paint damage happens, and the method that works on semi-gloss will wreck flat paint. Match your technique to the sheen.
By paint type:
- Flat and matte: The most fragile. Pull extra slowly and keep the angle as close to the wall as possible. If you see paint starting to lift at the edge, stop, warm the strip, and try again. A thin bead of painter's tape along the strip's edge before you pull can catch a lifting flake before it spreads.
- Eggshell: Forgiving. Standard slow-pull method works. Warm first if the strip has been up more than a year.
- Semi-gloss and gloss: Releases cleanly. The risk here is residue, not paint lift. Pull straight down and wipe the spot with isopropyl alcohol on a lint-free cloth.
- Fresh paint under 30 days: Don't remove adhesive from uncured paint if you can avoid it. If you must, warm the strip thoroughly and pull at a near-parallel angle. Expect some risk.
Residue cleanup by surface:
- Painted drywall: isopropyl alcohol on a cloth, dab, don't scrub. Scrubbing dulls the sheen and leaves a visible patch.
- Wallpaper: skip the alcohol. It can bleed the pattern. Use a clean eraser in light strokes, or a dab of warm water on a microfiber cloth.
- Wood paneling: a small amount of mineral spirits on a cloth, then wipe dry. Test in a hidden spot first.
Common Mistakes That Damage Walls
The same handful of errors cause almost every wall scar. Avoid these and you'll keep your drywall intact.
- Hanging on a dirty or freshly painted wall
- Using strips rated below the frame's real weight
- Ripping adhesive off instead of pulling slowly
- Ignoring humidity in bathrooms and basements
- Hanging heavy art on adhesive alone
- Guessing the layout instead of templating first
The two biggest fixes are simple: prep the surface, and match the method to the weight. Get those right and most damage disappears.
Frequently Asked Questions
What is the 57 rule for hanging pictures?
The 57-inch rule is a standard guideline for gallery and museum hanging. It means the center of the artwork should sit at 57 inches from the floor, which is the average human eye level. This rule ensures that art is comfortably viewable without straining your neck. When hanging multiple pieces, keep each piece's center aligned to this height for a cohesive, professional look. For proper spacing for gallery walls, maintain 2 to 3 inches between frames so the arrangement feels balanced and intentional.
Do adhesive strips really work for heavy art prints?
Adhesive strips can work for heavy art prints, but only if you match the strip's weight rating to the artwork's total weight, including the frame and glass. Most standard adhesive strips hold 4 to 16 pounds per pair. For heavier pieces, use multiple strips or switch to traditional hardware. Always check the wall surface: adhesive strips work best on smooth, clean, painted drywall. Textured walls or walls with loose paint reduce adhesion and increase the risk of adhesive failure.
How do I remove adhesive strips without peeling paint?
To remove adhesive strips safely, never pull them straight off the wall. Instead, hold the frame steady with one hand and slowly stretch the tab downward parallel to the wall. This stretches the adhesive and releases its bond without ripping paint. If the strip resists, warm it slightly with a hair dryer on low heat to soften the adhesive. For stubborn residue, dab a small amount of rubbing alcohol on a cloth and gently wipe. This method keeps your walls damage-free and ready for new art.
Can I hang large framed photography without drilling holes?
Yes, you can hang large framed photography without drilling by using heavy-duty adhesive strips rated for the total weight. For pieces over 20 pounds, use picture rails or a French cleat system that distributes weight across the wall. Another option is mounting putty combined with rubber bumpers to stabilize the frame and prevent shifting. Always test the adhesive on a small, hidden area first to confirm it bonds well with your paint and wall texture.
Hanging art shouldn't cost you your security deposit or a weekend of patching. At LarryCoulsonPhoto, we offer fine art photography prints in landscape, cityscape, nature, and abstract styles, so the piece on your wall is worth hanging right. Our prints suit renters and collectors alike, and our team in Denver can help you pick a size that fits your space. Get started with LarryCoulsonPhoto and bring museum-quality art into your home without leaving a mark.