 ultimate-guide
How to Curate a Gallery Wall: A 2026 Guide
Table of Contents
- Start With a Plan: Layout Ideas Before You Hang
- How to Choose Art for a Gallery Wall That Feels Personal
- Best Spacing for Gallery Wall Frames: The Numbers That Work
- Gallery Wall Planning Tools: Templates and Paper Cutouts
- Hardware, Wall Damage, and Renter-Friendly Mounting
- Lighting and Long-Term Care for Your Display
- Where to Source Affordable, High-Quality Prints
- Frequently Asked Questions
Last Updated: September 15, 2026
Start With a Plan: Layout Ideas Before You Hang
The most common mistake in gallery wall design is buying frames before deciding on an arrangement. A proper layout phase prevents nearly every problem that follows: uneven spacing, mismatched proportions, and patching unnecessary holes.
Sketching Your Arrangement on Paper
Measure your wall space with a tape measure, noting width, height, and constraints like light switches, outlets, furniture heights, and window trim. On graph paper, draw the wall to scale, then sketch each piece you plan to hang as a rectangle at the same scale.
This step costs nothing and saves hours: you can test five arrangements in ten minutes on paper versus moving physical frames for an afternoon.
Popular Layout Patterns: Grid, Salon, and Asymmetrical
Three layout patterns cover most gallery wall projects:
- Grid layout: Uniform frames arranged in perfect rows and columns. Best for same-size pieces or a formal, orderly aesthetic.
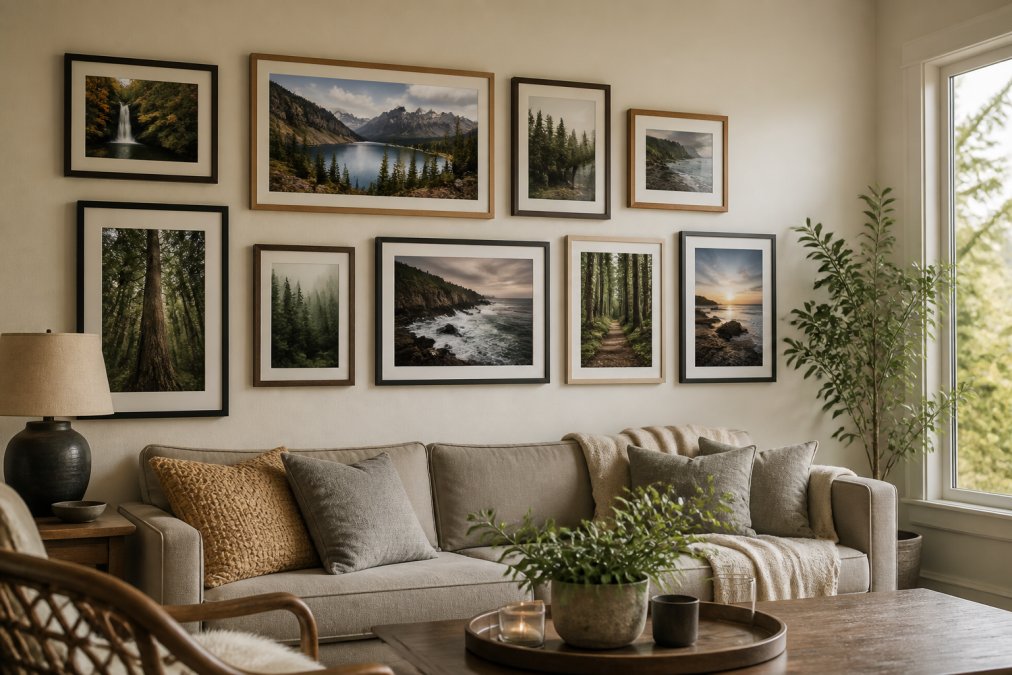
- Salon style: Frames of varying sizes clustered tightly, historically associated with 18th-century French exhibitions. Best for eclectic collections with mixed mediums.
- Asymmetrical arrangement: An anchor piece with smaller works balanced around it. Best for stairwells, sloped ceilings, or when you have one standout piece.
How to Choose Art for a Gallery Wall That Feels Personal
The best gallery walls tell a story about the people who live there. Generic prints arranged perfectly still feel hollow. A cohesive collection of pieces you genuinely love, even if imperfectly spaced, reads as intentional and warm. The American Society of Interior Designers emphasizes that personal connection to artwork is a stronger predictor of satisfaction than perfect technical execution.
Building a Cohesive Color Palette
You do not need matching artwork. You need a shared color thread. Pull one or two colors from your existing room decor (a rug, a throw pillow, a piece of furniture) and look for art that echoes those tones. A landscape with muted greens ties to a sage sofa. A cityscape with warm amber tones connects to wood furniture.
Limit your palette to three dominant colors across the entire collection. Neutral tones in frames and mats provide visual rest between pieces.
Mixing Sizes, Orientations, and Mediums
Variety keeps a gallery wall from looking like a showroom display. Combine:
- One large anchor piece (roughly 24x36 inches or larger)
- Two to three medium pieces (11x14 to 16x20 inches)
- Several small pieces (8x10 inches or smaller)
- Mixed orientations and mediums: photography, watercolor, textile art, or a meaningful object in a shadow box
Best Spacing for Gallery Wall Frames: The Numbers That Work
The standard rule for gallery wall spacing is 2 to 3 inches between frames, enough visual separation without disconnection. For very small frames (under 8x10 inches), tighten to 1.5 to 2 inches; for large statement pieces, 3 to 4 inches prevents crowding.
Spacing consistency matters more than the specific number. Measure every gap with a ruler or spacing tool; inconsistent gaps are the most noticeable flaw in amateur gallery walls.
The center of your arrangement should sit at 57 to 60 inches from the floor. This is standard museum height and aligns with average eye level for most adults.
| Layout Type | Recommended Spacing | Frame Size Range | Best Wall Space |
|---|---|---|---|
| Grid | 2-3 inches uniform | All same size | Above sofa, hallway |
| Salon style | 1.5-2.5 inches | Mixed small to medium | Large open wall |
| Asymmetrical | 2-4 inches | One large anchor | Stairwell, sloped ceiling |
| Single row | 2-3 inches | Similar heights | Narrow wall, entryway |
Gallery Wall Planning Tools: Templates and Paper Cutouts
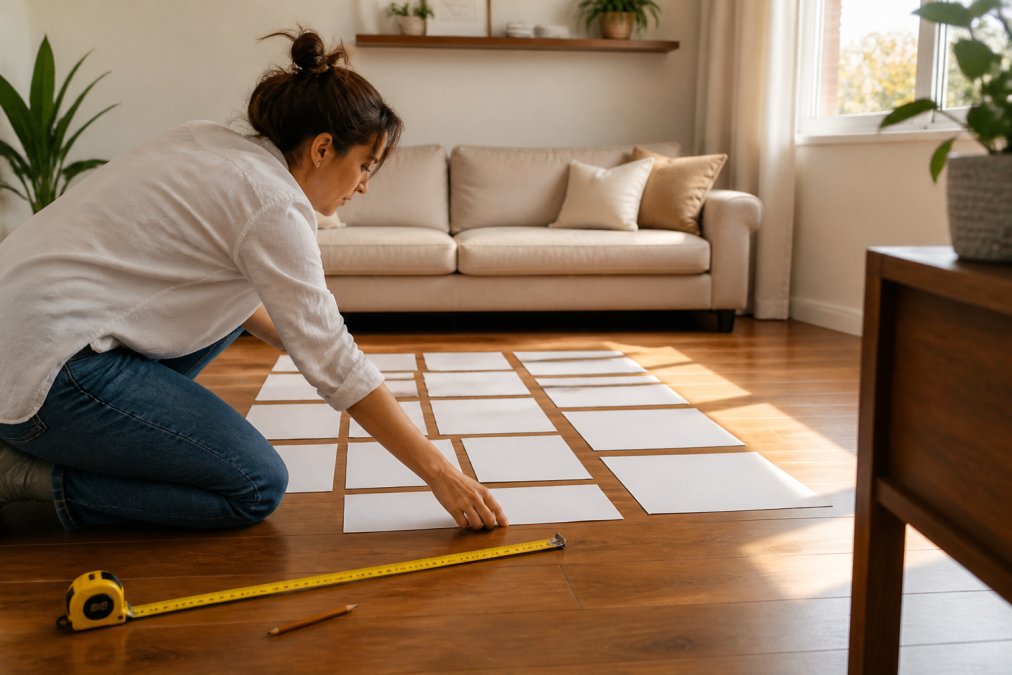
Paper cutout templates are the most reliable planning tool for gallery walls. Trace each frame onto kraft paper, cut out the shapes, and tape them to the wall with painter's tape. Rearrange until it feels right, then mark nail holes directly through the paper.
This eliminates guesswork: you see actual scale and proportion against your real wall before committing to a single hole.
Hardware, Wall Damage, and Renter-Friendly Mounting
Most gallery wall guides stop at aesthetics.
Match the Hardware to the Weight and the Wall
| Wall Type | Best Hardware | Typical Weight Range | Notes |
|---|---|---|---|
| Drywall (no stud) | Adhesive strips, self-drilling hollow-wall anchors, or a picture-hanging hook with a hardened steel pin | Up to 5 lb (adhesive); 10-50 lb (anchors) | Adhesive strips are the least invasive; anchors hold more but leave a larger hole |
| Drywall over a stud | Wood screw driven directly into the stud | 50 lb+ | Strongest option; locate the stud with a magnetic or electronic stud finder |
| Plaster | Drill a pilot hole, then use a screw or a plaster-specific anchor | Varies | Nails crack old plaster; always pilot-drill |
| Brick or concrete | Masonry bit plus a plastic or lead anchor | Varies | Requires a hammer drill for most brick |
| Picture rail or molding | Picture rail hooks with wire or cord | Varies | No wall penetration at all, ideal for rentals with original trim |
Adhesive Strips: What They Actually Hold
Adhesive strips fail on textured walls, freshly painted surfaces, and in humid rooms. Test one strip with a small frame for 48 hours before committing an entire gallery wall to adhesive.
Removable Hangers and the Pinhole Standard
For pieces between roughly 5 and 30 pounds, removable picture hangers that drive a small hardened-steel pin into drywall are the practical middle ground.
Removal Without Damage
Photograph your wall before you hang anything. If a landlord disputes a mark later, a dated before-photo is the simplest proof of the wall's original condition.
A Note on Studs and Heavy Anchor Pieces
If your anchor piece is genuinely heavy, large framed art, a shadow box with objects, or anything over about 30 pounds, do not rely on adhesive or a single pin.
Lighting and Long-Term Care for Your Display
A gallery wall is only as good as the light that hits it, the detail that separates a well-planned wall from one that looks flat after dark.
Three Ways to Light a Gallery Wall
- Picture lights. A fixture mounted above the top row of frames, angled down across the art.
Glare, Fading, and Glazing
If you can only do one thing for longevity, choose UV-filtering glazing on any piece that faces a window. It is the single highest-impact upgrade for a print you plan to keep for years.
A Realistic Cleaning Routine
Dust is the main long-term enemy, easy to manage with regular attention rather than waiting for visible buildup.
What to Avoid
Never use abrasive cleaners, ammonia-heavy products on acrylic glazing (they cloud it), or paper towels on glass (they scratch).
Where to Source Affordable, High-Quality Prints
Budget-friendly sourcing does not mean sacrificing quality.
Frequently Asked Questions
What are common gallery wall mistakes to avoid?
The most frequent mistakes include hanging art too high, spacing frames too far apart, and skipping the planning stage entirely. Hanging pieces so the center sits at eye level (around 57-60 inches from the floor) keeps the arrangement comfortable to view. Aim for 2-3 inches between frames for a cohesive look. Another common error is mixing too many unrelated styles without a unifying element like a consistent frame color or a shared color palette. Planning with paper templates before drilling prevents most of these issues.
Is there a specific mathematical rule for spacing gallery wall frames?
A common guideline is to leave 2-3 inches of wall space between frames. For a tighter, salon-style look, reduce that to 1.5-2 inches. For larger pieces, 3-4 inches can work well. The key is consistency: pick a spacing measurement and apply it throughout the arrangement. This creates visual rhythm and keeps the gallery wall feeling intentional rather than cluttered.
Are gallery walls still stylish in 2026?
Yes. Gallery walls remain a popular way to display art because they are flexible and personal. The trend has shifted toward more curated, minimalist arrangements rather than dense floor-to-ceiling coverage. Mixing photography with abstract art and using consistent frame finishes keeps the look modern. A well-planned gallery wall works in traditional, modern, and eclectic interiors alike.
How do you mix different frame styles and art mediums effectively?
Choose one unifying element, such as a consistent frame color or a shared mat width, then vary the rest. Mix black-and-white photography with colorful abstract prints, or combine thin metal frames with thicker wood ones. Keep the matting consistent to tie pieces together. Grouping by theme, like travel photography or nature scenes, also helps diverse pieces feel intentional. Limit yourself to two or three frame finishes to avoid visual chaos.
What is the best way to plan a gallery wall layout before drilling holes?
Cut paper templates to the exact size of each frame and tape them to the wall. Rearrange until the composition feels balanced. Step back frequently to check proportions from different angles. Mark hanging hardware positions directly on the templates, then drill through the paper. This method lets you test gallery wall layout ideas without committing to holes, which is especially useful for renters or anyone who wants to avoid patching drywall later.
How do I choose art for a gallery wall if I have a specific interior style?
Start with the mood you want the room to convey. For mid-century modern, look for clean lines, bold geometric shapes, and warm tones. For bohemian spaces, organic shapes, nature photography, and earthy colors work well. Pick an anchor piece first, then build around it with complementary sizes and subjects. A gallery wall planning tool like a mood board helps you preview how different pieces work together before buying.